ASP.NET MVC core is a framework for building web applications that applies the general Model-View-Controller pattern to the ASP.NET framework.
In this post we will use Asp.NET core to create Web application on cloud9 using different technologies Yeoman, gulp and nodejs .
If you don’t kown how to create a simple web server you can see Create a First web application with .Net Core .
Create a new workspace in cloud9
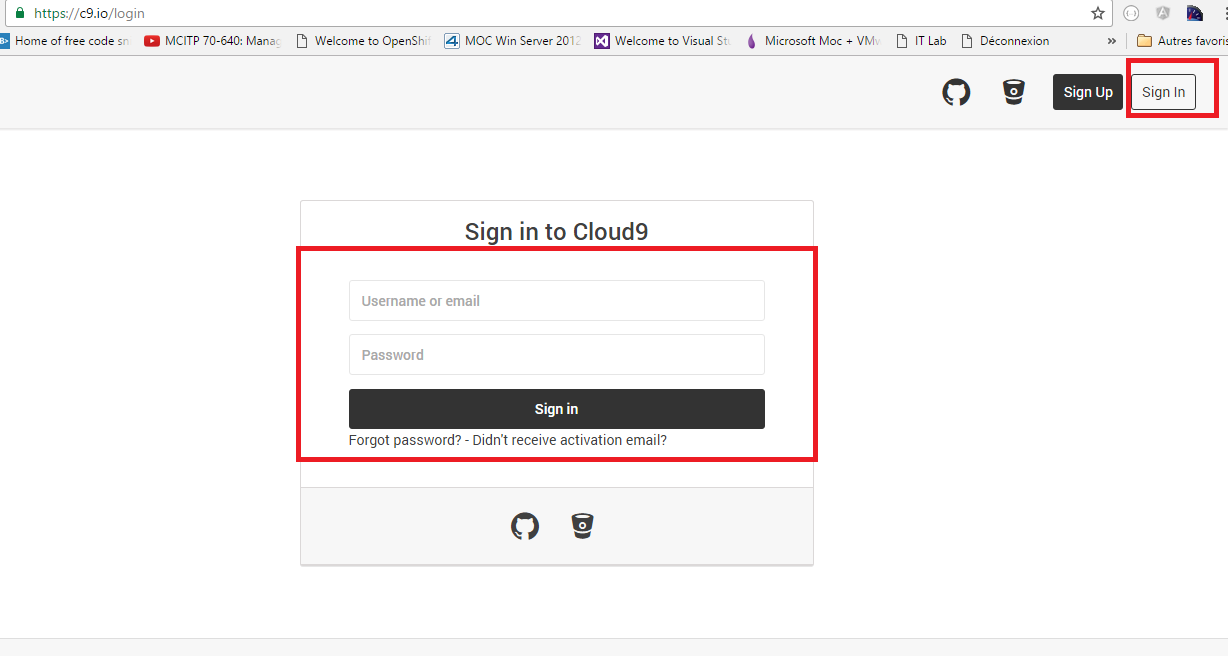
Go to Cloud9 website and signin.
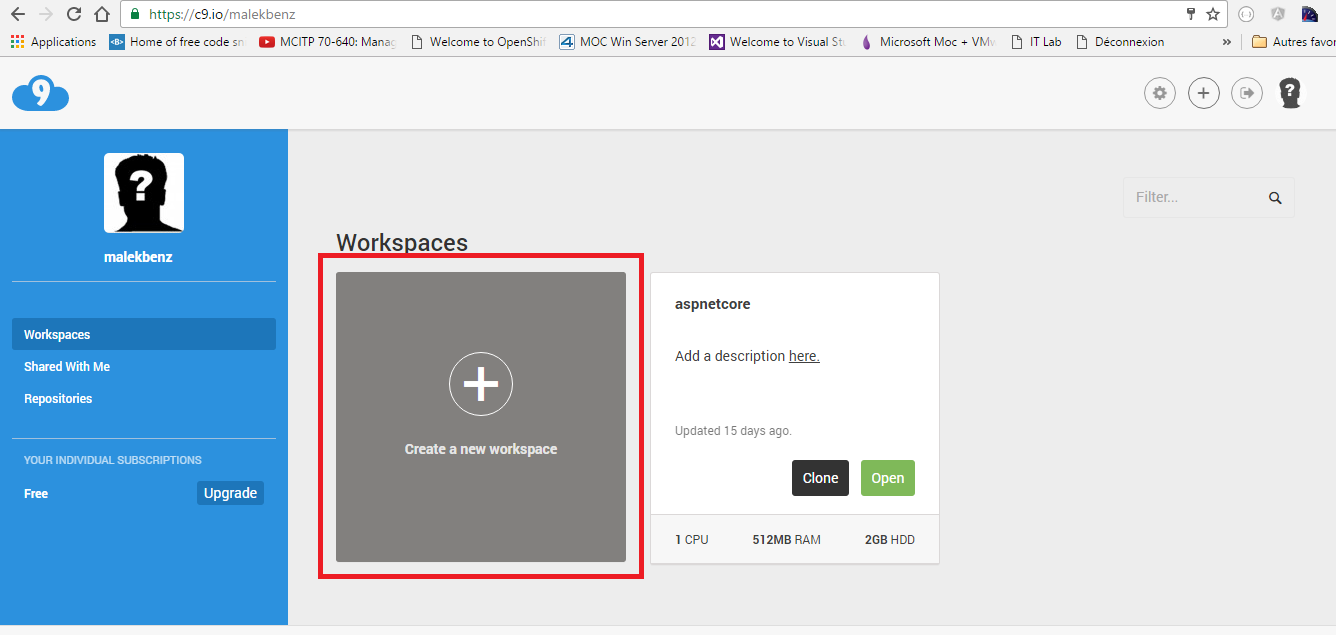
Select Create a new workspace
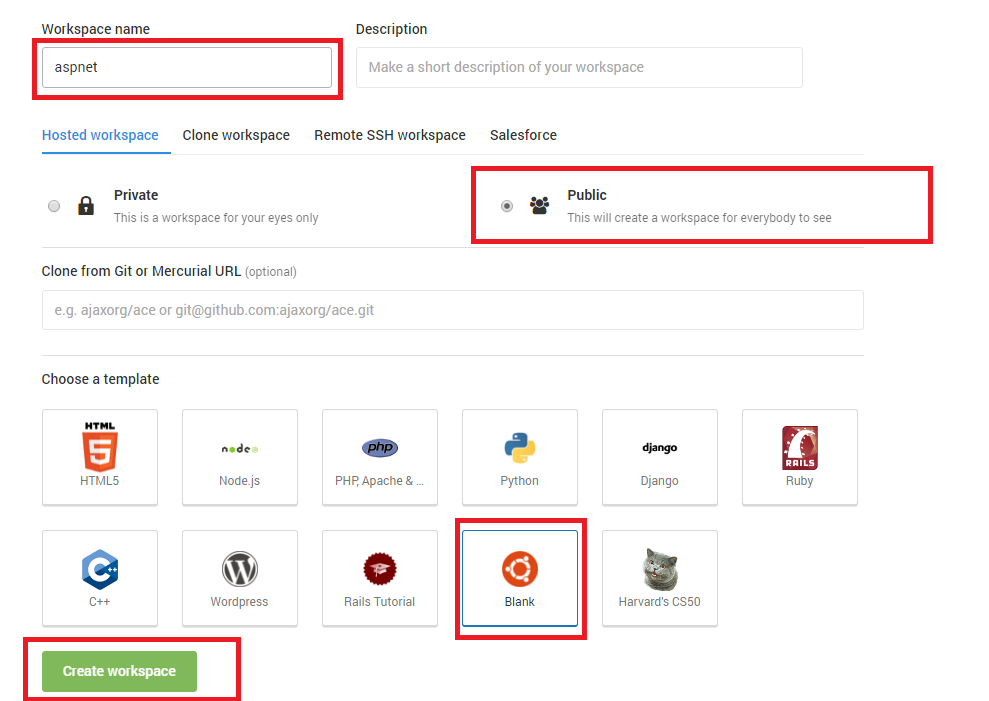
Name the workspace aspnet, Select Blank template and click on Create a new workspace
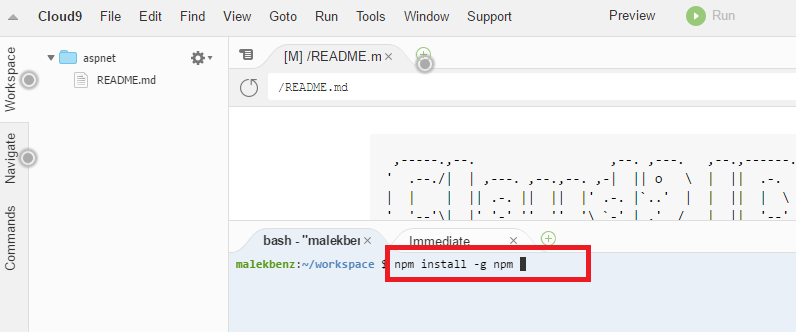
Now your machine is created, type sudo apt update update the system.
Install the package apt-transport-https.
![]()
Install Yeoman (gulp & bower)
Yeoman is web scaffolding tool for modern webapps, Yeoman helps you to kickstart new projects, prescribing best practices and tools to help you stay productive.
First of all we need to upgrade npm (node packgae manager): :
$ npm install npm
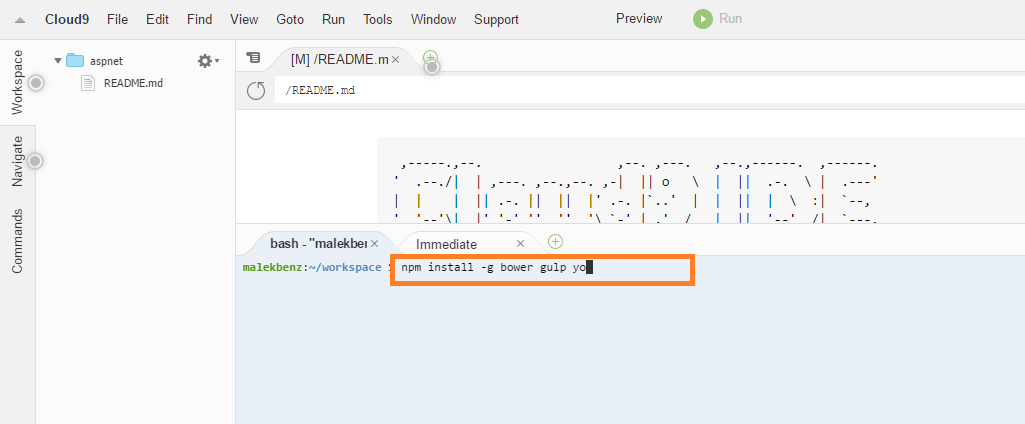
And then install Yeoman,Gulp and bower globaly :
$ npm install -g bower gulp yo
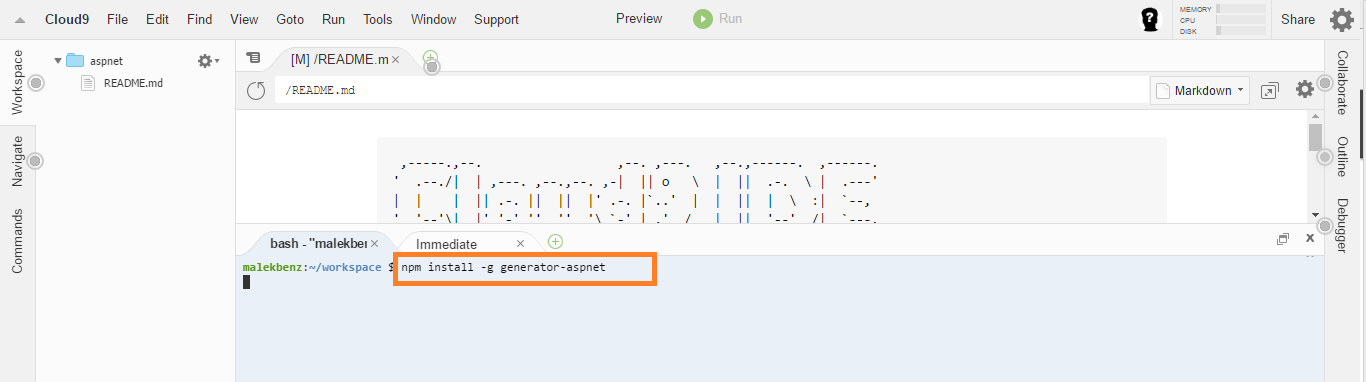
To be able to create new aspnet project with Yeoman we need to install aspnet generator so let’s do it:
$ npm install -g generator-aspnet
Install .NET Core
Now let’s install .NET Core, In order to install .NET Core you need to first set up the apt-get feed that hosts the package you need.
    $ sudo sh -c 'echo "deb [arch=amd64] https://apt-mo.trafficmanager.net/repos/dotnet-release/ trusty main" > /etc/apt/sources.list.d/dotnetdev.list'

    $ sudo apt-key adv --keyserver apt-mo.trafficmanager.net --recv-keys 417A0893

    $ sudo apt-get update
Install .NET Core SDK Before you start, remove any previous versions of .NET Core from your system.
To .NET Core on Ubuntu or Linux Mint, simply use apt-get.
$ sudo apt-get install dotnet-dev-1.0.0-preview2-003131
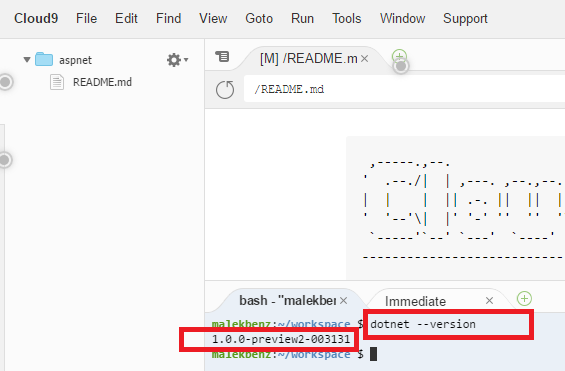
To confirm that donet is installed:
$ dotnet --version
And you’re ready!
Create the application with Yeoman
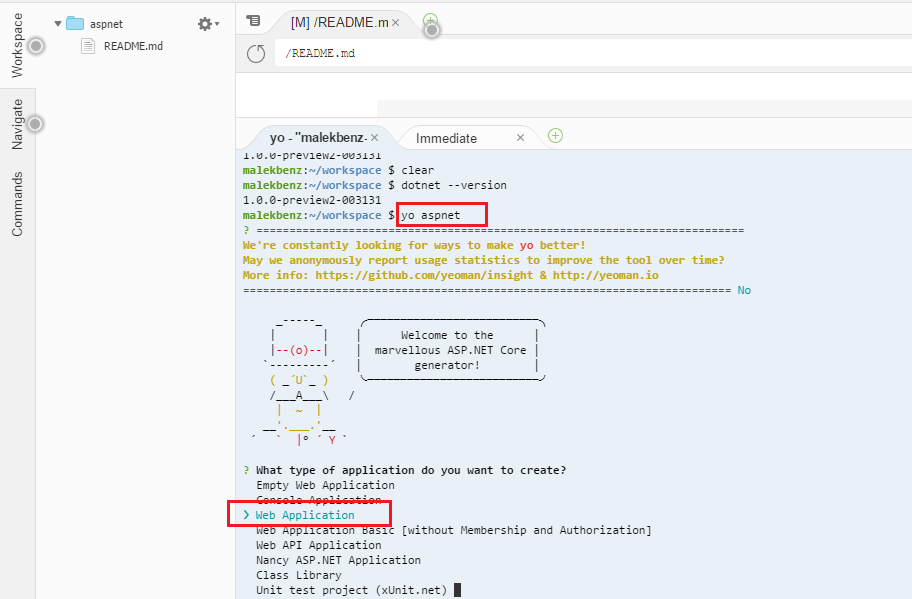
You now have .NET core running on your machine You can create a website with Yeoman.
$ yo aspnet
Select Web application
Select Bootstrap then press enter
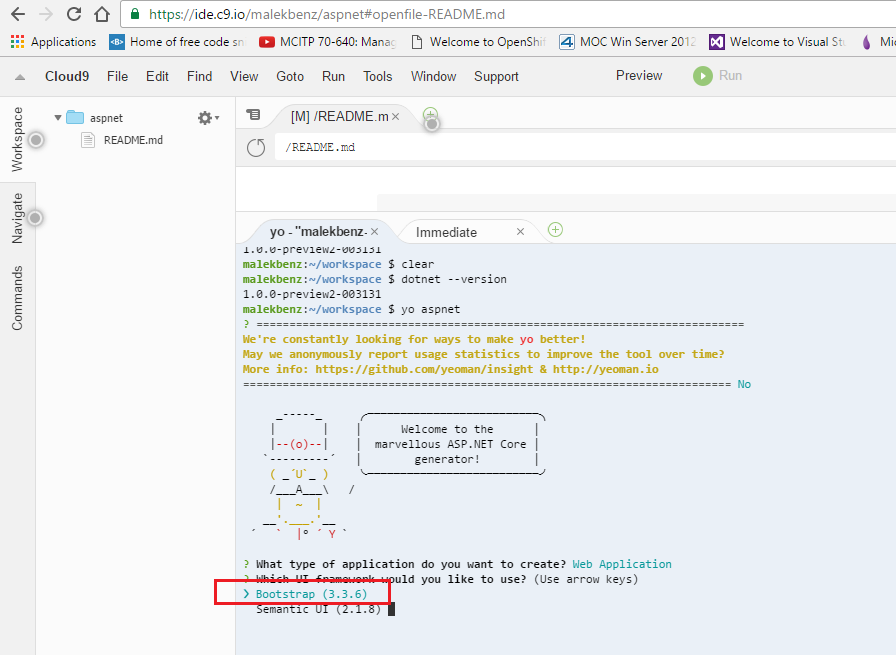
now name the application webapp then press enter
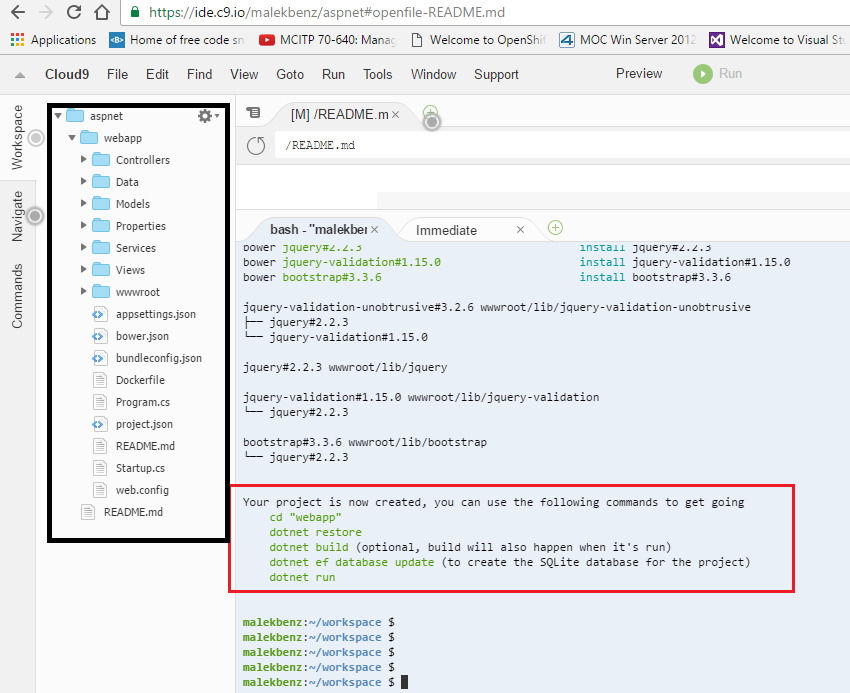
Your project is now created, you can use the following commands to get going
    $ cd "webapp"
    $ dotnet restore
    $ dotnet build
    $ dotnet ef database update
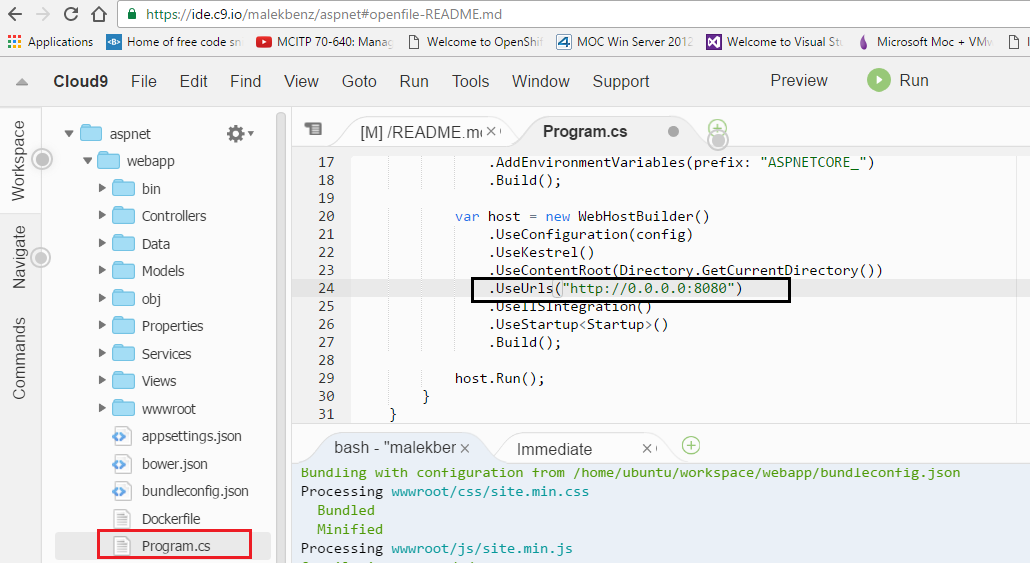
Befor run the app we need to update Program.cs file to be able to listen on port 8080:
UseUrls("http://0.0.0.0:8080")
Now You can run your application :
$ dotnet run
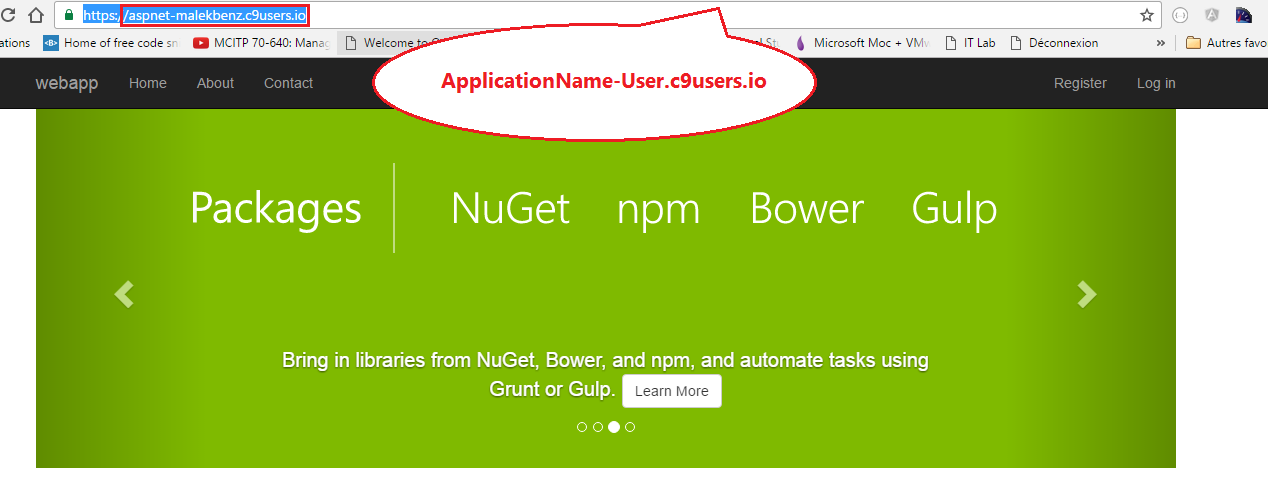
To preview your running app, try to use port 8080 in the URL ex: https://aspnet-malekbenz.c9users.io/.